An SEO site migration checklist is a list of the steps that protect a website’s search traffic when it changes its domain, its addresses, its platform or its design. This one has 30 steps in three stages: before the migration, launch day and after. It comes with a free redirect map spreadsheet, and it shows how three crawls catch most migration mistakes.
Download the free redirect map and checklist (Excel) · It works in Excel, Google Sheets and Numbers. No sign-up and no email form.
It is written by the maker of SEOSage, an SEO audit app that crawls on your own computer, including staging sites, with no page limit.
TL;DR
- Most migration losses come from the same causes: missing or wrong redirects, a noindex or robots.txt block left on from staging, lost titles and text, and broken internal links.
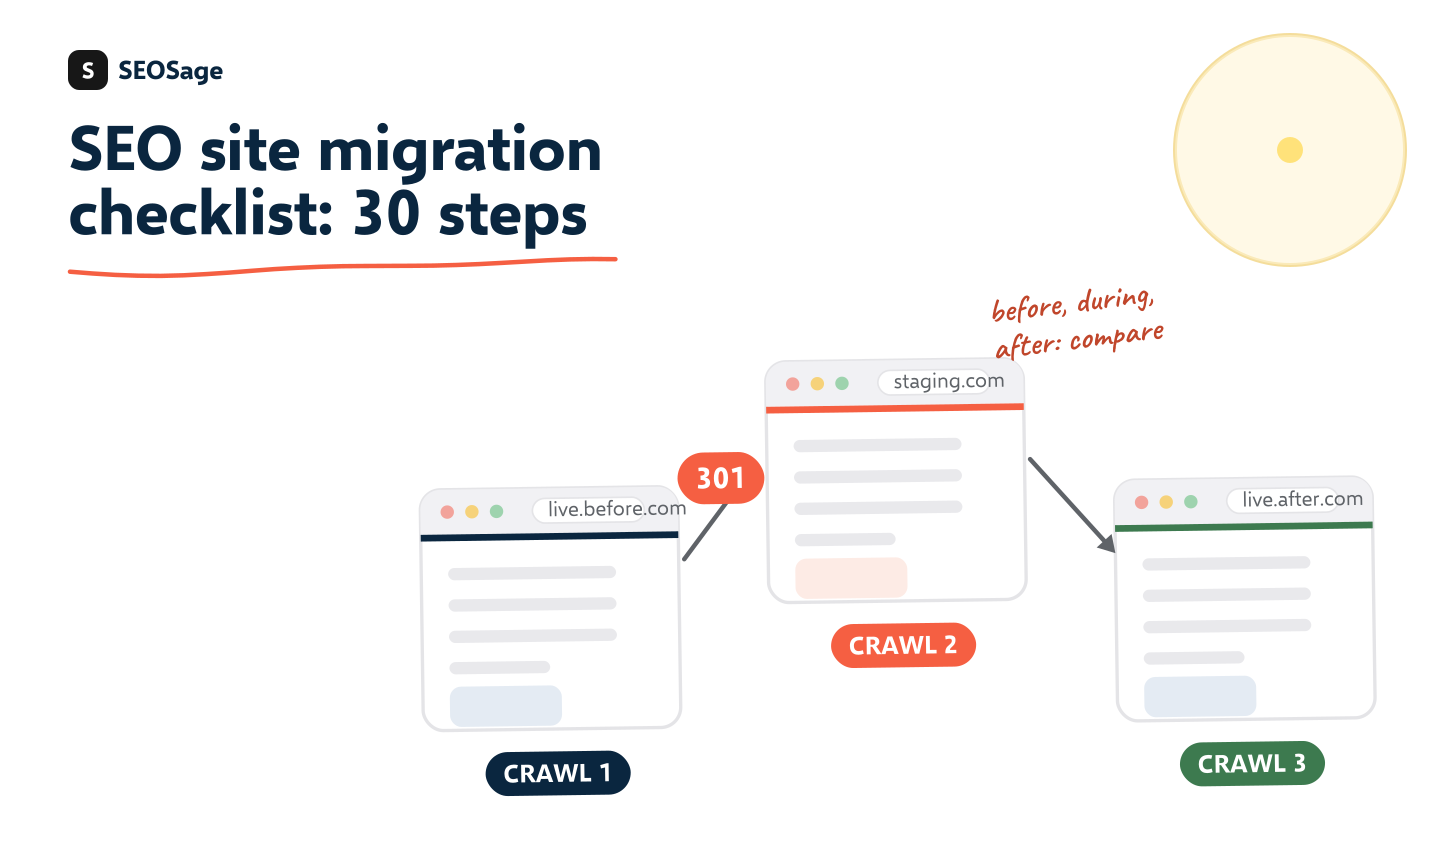
- Crawl three times: the live site before, the staging site before launch, and the live site straight after.
- Build a redirect map, one new address for every old address that matters, and test it on staging.
- Compare the crawl after launch with the one before. The compare view shows what is missing, new or changed.
- Keep the redirects in place for as long as you can, and watch Search Console every week for a month.
What is an SEO site migration? #
An SEO site migration is any change that alters how search engines find and understand a site’s pages: a new domain, new addresses, a new platform or a redesign. It is risky because search engines have built up what they know about the old setup, and a change throws that away unless you tell them where everything went.
| Type of migration | What changes | Main risk |
|---|---|---|
| Domain change | The whole address, such as old.com to new.com | Every page needs a redirect to the same page on the new domain |
| URL structure change | The paths, such as /blog/post to /articles/post | Missing or chained redirects |
| Platform or CMS change | The system that builds the pages | Different titles, templates, canonicals and links by default |
| Redesign | The look and the page templates | Lost text, headings and internal links |
| HTTP to HTTPS, or merging sites | The protocol, or two sites becoming one | Mixed versions and duplicate pages |
Google describes the steps for site moves with URL changes and for moves without URL changes. This checklist turns that guidance into a working list.
What goes wrong in an SEO migration? #
A migration can lose traffic for a handful of reasons. Nearly all of them can be found with a crawl before or just after launch:
- Old addresses with no redirect, so visitors and search engines reach an error page.
- Redirects that chain or loop, or send everything to the home page.
- A staging setting left on: a noindex tag, a robots.txt block or a password.
- Titles, headings and text that changed, so pages no longer match what people search for.
- Internal links that still point at the old addresses, or at the staging address.
- A sitemap that lists old, redirected or missing pages.
- Tracking and forms that no longer work.
How do three crawls protect a migration? #
Crawl the site three times, at three moments, and compare them:
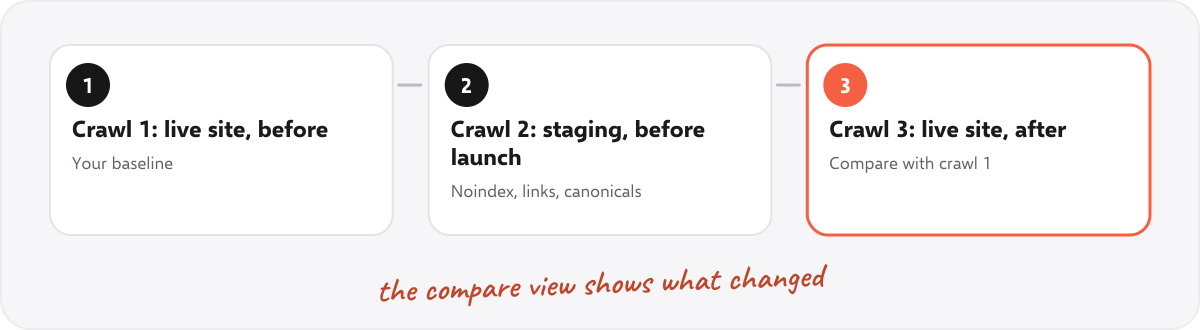
- Crawl the live site before the migration. This is your baseline: every page, its address, title, status and links.
- Crawl the staging site before launch. SEOSage can crawl a site that runs on your own computer or network, and a site behind a password. See auditing a site before launch and the crawl controls. Look for noindex tags, broken links, canonical problems and links that still point at localhost or the staging address. SEOSage flags those as a malformed link.
- Crawl the live site straight after launch. Then use the compare view to see what changed against the baseline: pages that disappeared, new errors and changed titles.
The first crawl tells you what you have. The second shows what you are about to launch. The third proves what you launched.
The 30-step SEO site migration checklist #
Stage 1: Before the migration (12 steps) #
| # | Step | How |
|---|---|---|
| 1 | Set the goal and the date | Write down what changes: domain, URLs, platform or design. Agree who signs off. |
| 2 | Crawl the live site and save the crawl | This is your baseline. You will compare against it later. |
| 3 | Export the pages that matter | Top pages and queries from Search Console, and top landing pages from analytics. |
| 4 | Save the current sitemap, robots.txt and redirects | Keep copies, so you can check what changed. |
| 5 | Build the redirect map | List every old address and the new address it should go to. Start with pages that get visits or links. |
| 6 | Keep URLs the same where you can | Every changed address is a risk. Change only what you must. |
| 7 | Keep titles, headings and text of important pages | Do not rewrite pages during a migration. Change one thing at a time. |
| 8 | Build the staging site and keep it out of search | Use a password or a noindex tag, and note that it must be removed at launch. |
| 9 | Crawl the staging site | Check titles, canonicals, internal links, status codes and language tags before launch. |
| 10 | Test the redirect map on staging | Each old address should reach the right new page in one step. |
| 11 | Prepare the new sitemap and robots.txt | List only live, indexable pages. Do not copy a blocking rule from staging. |
| 12 | Check speed on the new templates | Test a home, category and article page on the new design. |
Stage 2: Launch day (8 steps) #
| # | Step | How |
|---|---|---|
| 13 | Choose a quiet day and agree a rollback plan | Know who can undo the change, and how. |
| 14 | Switch the site and remove the staging block | Take off the password, the noindex tag and any robots.txt block. |
| 15 | Turn on the 301 redirects | Include http to https and www to non-www, or the reverse. |
| 16 | Submit the new sitemap in Search Console | For a domain change, also use the Change of address tool. |
| 17 | Crawl the live site straight away | Do not wait for Google to tell you about a problem. |
| 18 | Test the top 50 old addresses by hand | Each should land on the right page in one hop, with status 200 at the end. |
| 19 | Check robots.txt and noindex on the live site | Staging settings left on are the most expensive mistake. |
| 20 | Check that analytics and forms work | A migration can break tracking and contact forms. |
Stage 3: After the migration (10 steps) #
| # | Step | How |
|---|---|---|
| 21 | Compare the new crawl with the baseline | Look for missing pages, new errors and changed titles. Use the compare view. |
| 22 | Fix 404 errors and redirect chains | Point each old address at its final destination in one step. |
| 23 | Update internal links to the new addresses | Do not rely on redirects for your own links. |
| 24 | Watch Search Console every week | Check the Page indexing and Performance reports for drops and new errors. |
| 25 | Keep old addresses out of the new sitemap | The sitemap should list only the new, live pages. |
| 26 | Update profiles and links you control | Social profiles, directories, email signatures and ads. |
| 27 | Ask important linking sites to update their links | Start with the sites that send the most visits. |
| 28 | Keep the redirects in place | Google advises keeping them for as long as possible, at least a year. |
| 29 | Crawl again every month and compare | Catch new problems early. |
| 30 | Review the results and write them up | Compare visits, impressions and errors with the baseline, a few weeks after launch. |
How do you build a redirect map? #
A redirect map is a table of old addresses and the new address each one should go to. It is the most important document in a migration.
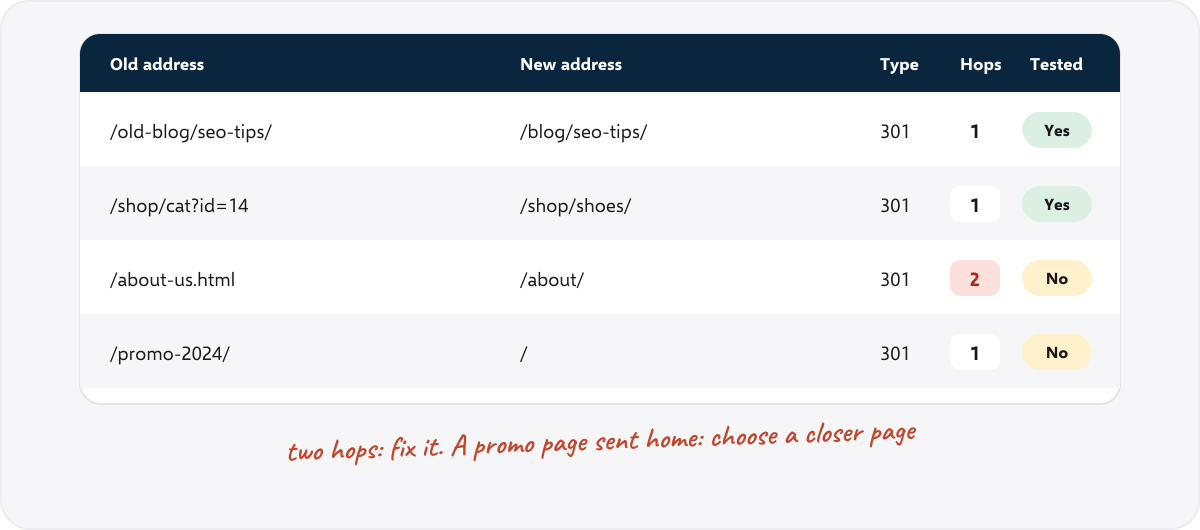
- List every old address. Take the crawl, the sitemap and Search Console, so you do not miss pages that are no longer linked.
- Rank them. Mark addresses that get visits or links as high priority. Search Console and analytics show which.
- Choose the closest new page for each. Do not send everything to the home page. A redirect should go to a page that answers the same need.
- Use 301 redirects, which mean “moved permanently”. Make each old address reach its new page in one step.
- Test it on staging, and again on the live site after launch. Record the final status and the number of hops.
- Retire pages deliberately. If a page has no replacement and no value, a clean 404 or 410 is better than a redirect to something unrelated.
Our free redirect map template has columns for the old address, the new address, the type, the priority, the clicks, whether it is tested, the final status and the number of hops. Rows with more than one hop or a status other than 200 turn red.
What is different for a domain change? #
A change of domain needs the same steps, plus a few more:
- Add the new domain as a property in Search Console before launch, and verify it.
- After the redirects are live, use the Change of address tool, as Google describes.
- Redirect every page to the same page on the new domain, not just the home page.
- Keep the old domain registered, and keep the redirects running.
- Update the sitemap, the canonicals and the structured data to the new domain.
What should you monitor after launch? #
For the first month, look at three things each week:
- The Page indexing report in Search Console. New errors or large groups of excluded pages are an early warning. See our guide to the Page indexing statuses.
- Clicks and impressions for your top pages, against the baseline you saved. A dip right after a migration is normal. A drop that continues is not.
- A fresh crawl, to catch broken links and redirect chains as they appear.
Do not make other big changes during this time. If something goes wrong, you want to know the migration caused it.
What do you need for a migration audit? #
- A crawler that can crawl staging and live sites and compare crawls. SEOSage runs on Mac and Windows, with no page limit, from $9 a month and a 14-day free trial.
- Google Search Console for both the old and the new property.
- The redirect map spreadsheet and this checklist.
- The free tools for one-page tests: the redirect chain checker, 404 checker, sitemap checker and robots.txt tester.
SEOSage has no backlink database. If you want to contact the sites that link to you, use a backlink tool for that list.
How long does it take for traffic to recover? #
It depends on the size of the site, the type of migration and how clean it was. Search engines need time to find the new addresses and process the redirects. Do not expect an instant return, and do not judge it after a few days. Compare against your baseline for several weeks, and look for a steady direction rather than a single day.
Common SEO migration mistakes #
- Redirecting everything to the home page. It loses the match between old and new pages.
- Launching with staging blocks still on. Check noindex and robots.txt on launch day.
- Changing too much at once. A new domain, new URLs, new text and a new design together make problems impossible to trace.
- Not saving a baseline. Without a crawl and Search Console export from before, you cannot say what changed.
- Removing the redirects too soon. Keep them for as long as you can.
- Forgetting your own links. Update internal links, the sitemap and canonicals to the new addresses.
Summary #
An SEO site migration is safe when it is planned: save a baseline, build and test a redirect map, crawl staging, check for leftover blocks, crawl straight after launch and compare. The 30-step checklist and the free spreadsheet cover each stage. Watch Search Console weekly for the first month, and keep the redirects in place.
FAQ #
What is an SEO site migration? #
It is a change to a site’s domain, addresses, platform or design that affects how search engines find its pages.
What should be on an SEO migration checklist? #
A baseline crawl, a redirect map, a tested staging site, no leftover noindex or robots.txt blocks, working 301 redirects, a new sitemap, a crawl straight after launch and weekly monitoring afterwards.
How do you do a site migration without losing SEO? #
Change as little as you can, redirect every old address that matters to the right new page, keep titles and text for important pages, and compare crawls before and after.
Do I need 301 redirects for a migration? #
Yes, for every old address that has a new home. Use 301 redirects, which mean moved permanently, and make each reach the new page in one step.
Can I crawl a staging site? #
Yes. SEOSage can crawl a site on your own computer or network, and a site behind a password, so you can check it before launch.
How long should I keep redirects? #
For as long as you can. Google advises at least a year, and longer if the old addresses still get visits or links.
Is the redirect map template free? #
Yes. There is no sign-up and no email form. Edit it and reuse it for every migration.
Does SEOSage show what changed after a migration? #
Yes. The compare view shows what was fixed, what is new and what got worse between two crawls, so you can check the live site against your baseline.